This is the most photographed generation in history and we all aim to learn how to take good pictures on our own. There are many opportunities to apply this information from just snapping the first day of school photos to how to take good pictures of school dances.
Here are my tips to help you get great photos at home. These techniques will work no matter what camera you use. We won’t get very technical here because this takes practice and I want you to be able to use any camera you have.
If you only use one of these tips, let it be the lighting. The rest should fall into place. Good luck and feel free to come and join me in my Facebook group. It’s full of other budding photographers just looking to be better.
Lighting
If you focus your efforts on only one thing, lighting should be it. Many of you will be using your camera on automatic mode whether you use your phone or your DSLR. All cameras work best when there is plenty of available light, but it’s up to you to find that light.
Taking your photos outside
Natural light does not equal direct sunlight. As a matter of fact, you should try to avoid direct sunlight (particularly midday sunlight) if possible. It makes for squinty eyes, dark circles under the eyes and nose and a very harsh contrast between light and dark. Instead, look for even and open shade that gives you the opportunity to take photos at any time. Open shade means your subject is standing in the shade so direct sunlight is not hitting her, but she is looking out of the shade toward the open sky/light. When it’s bright and sunny out, the open shade will give you the best photos.
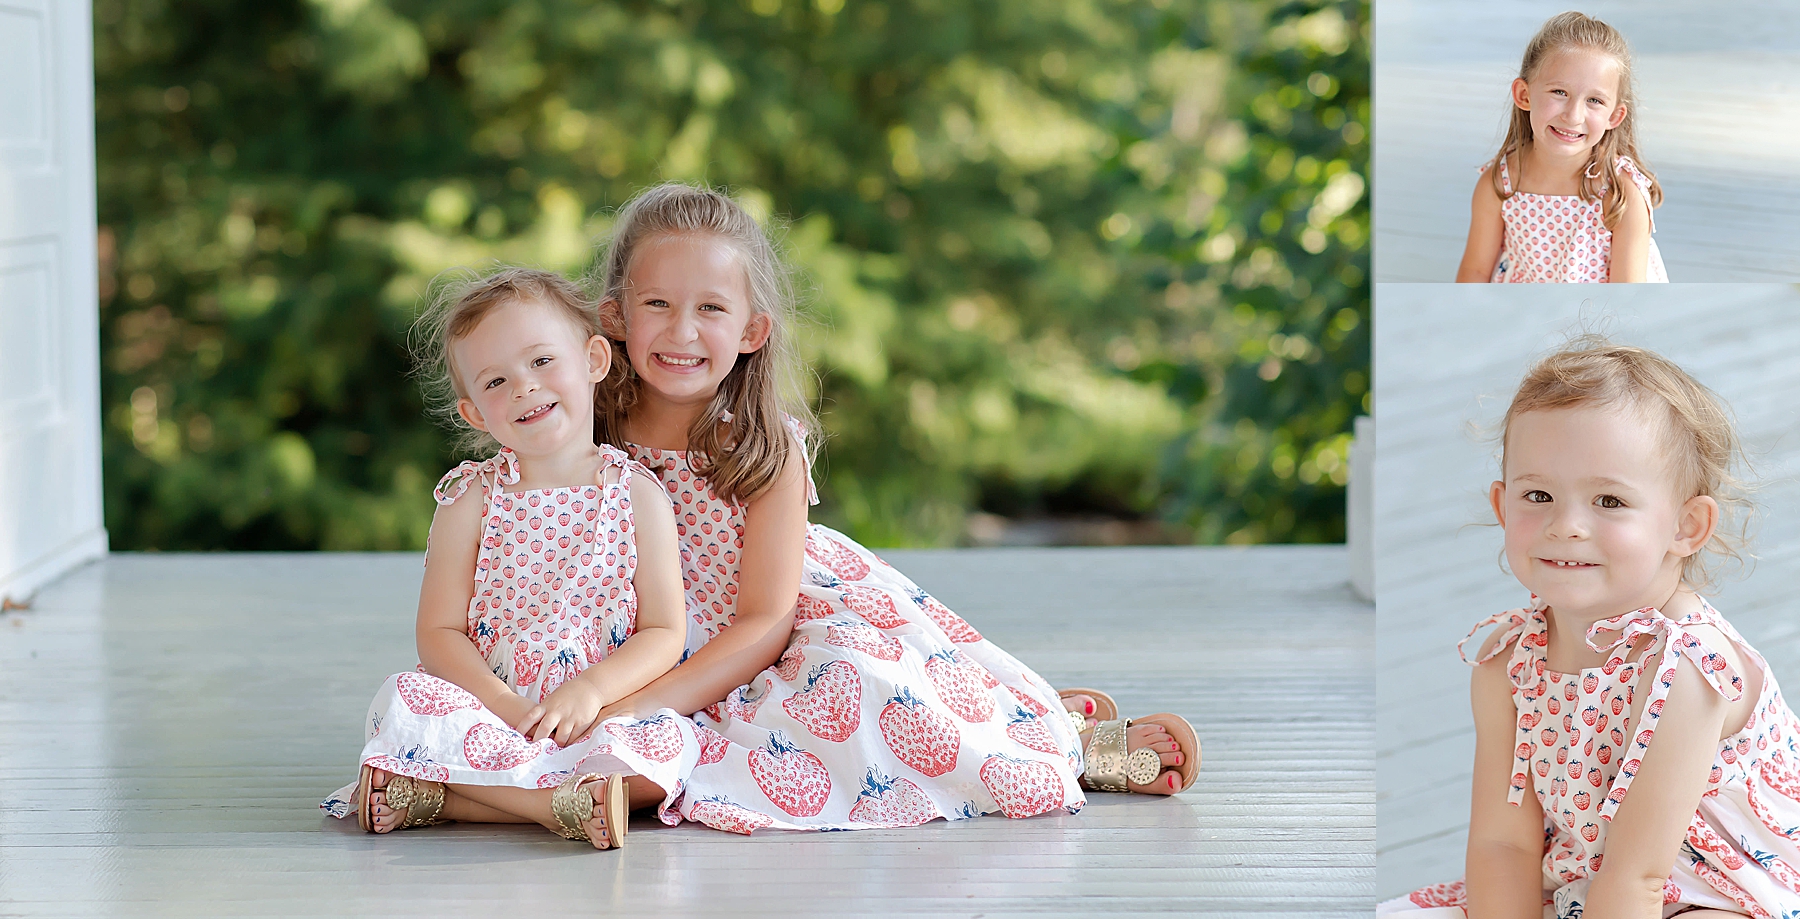
Some examples of locations with good open shade are a porch, garage, side of a building, or awnings. As a matter of fact, a porch makes a great DIY location. However, directly in front of the door may not be the best location. Make sure you face your subject toward the direction of the sun while still having them in the shade.
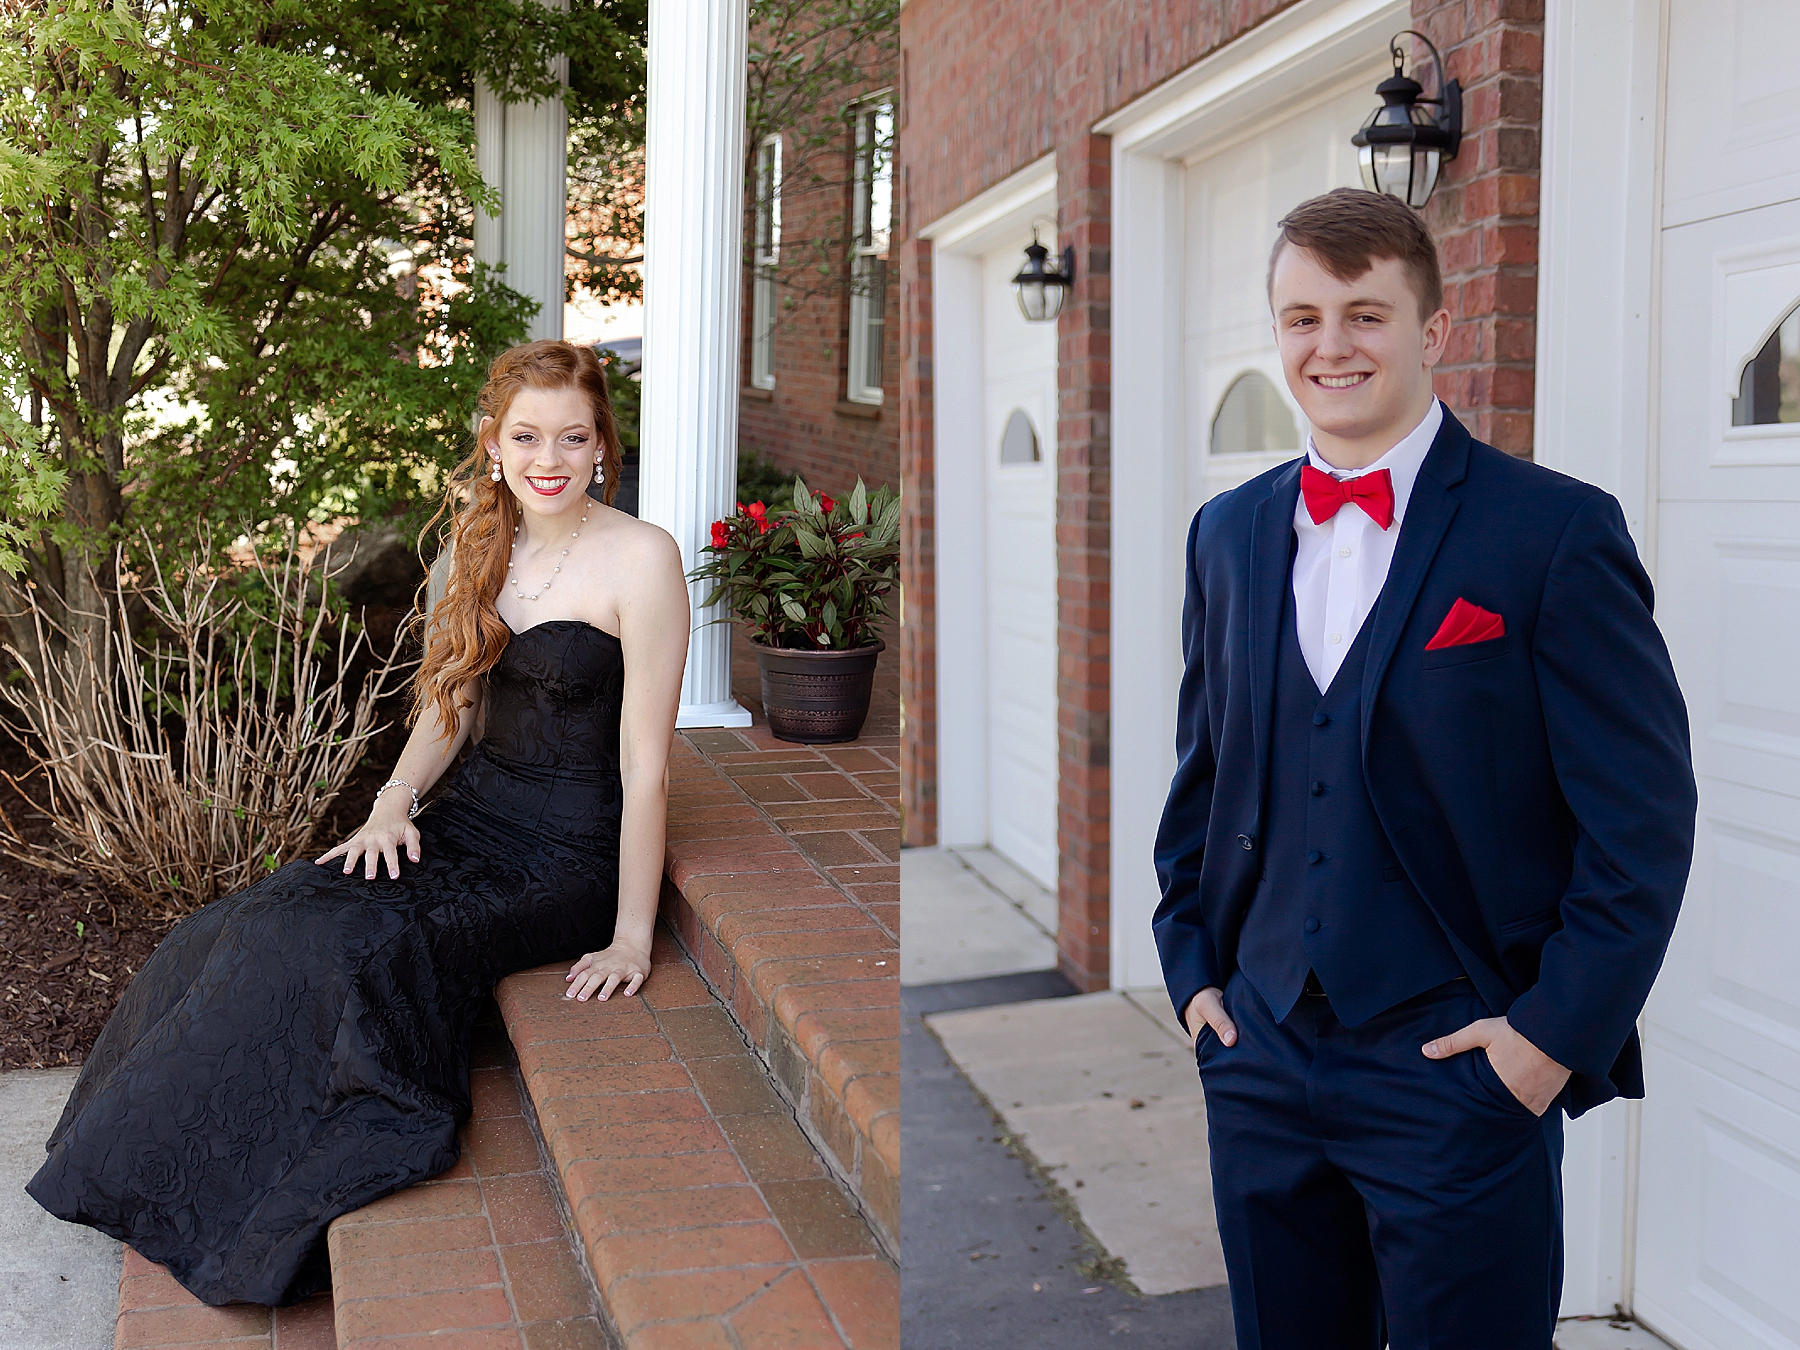
The best time to take photos outside is definitely in the morning or evening. The sun is not directly above you and you can usually find more shade available.
Taking your photos inside
Indoors, you can use the natural light coming from the windows. Simply place your subject directly in front of the window for nice even light. As the photographer, you would be in front of the window with your back to the light. Natural window or door light will be the best in your home. Flash tends to be harsh, so don’t always assume you have to use it. Look for ways to get creative with the available light in the room.
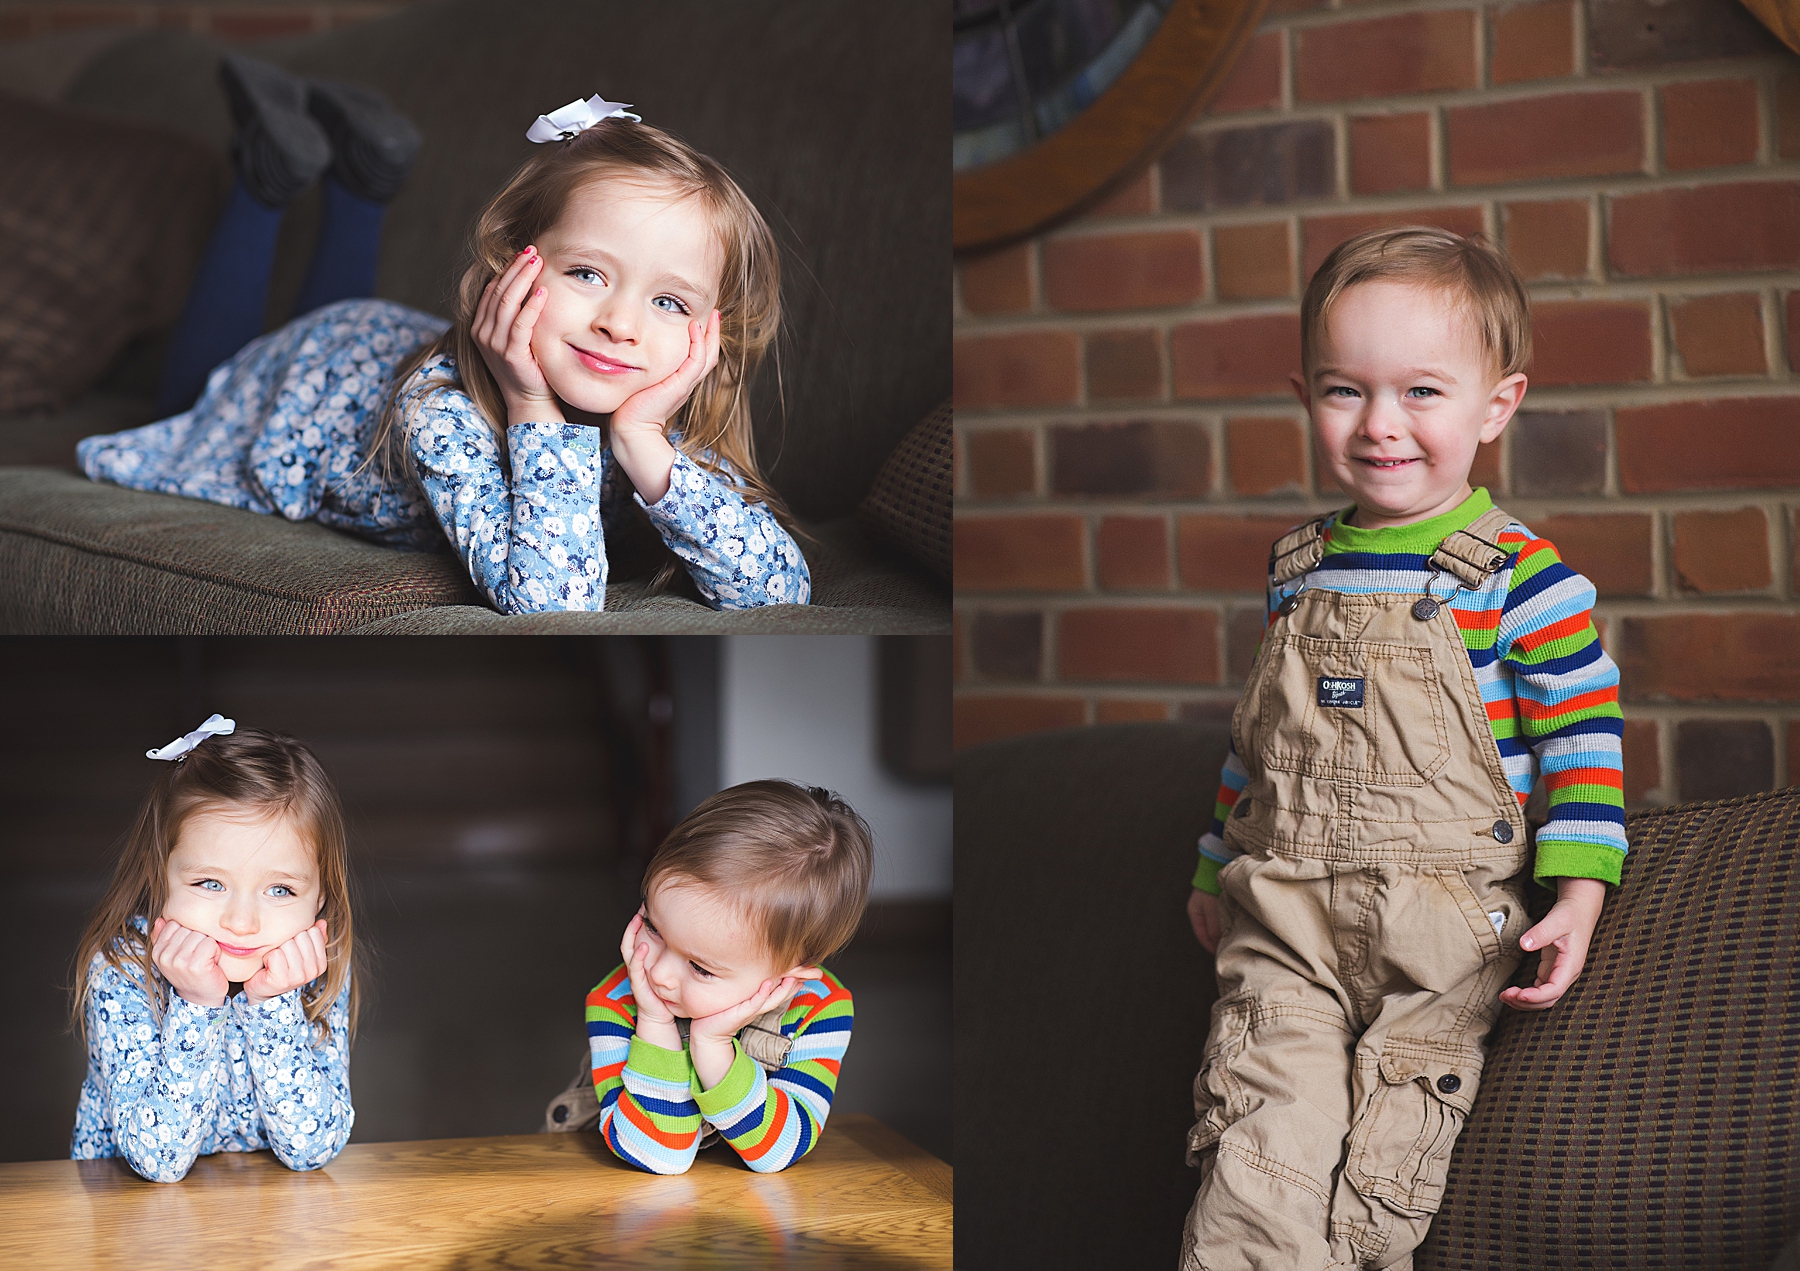
Look around your home. Where are your light sources? Open doors, windows? In these pictures above, I was directly in front of a window with no flash.
Keep the background simple and get rid of the “mess”
Nothing will ruin a photo more quickly than a messy background, so make sure to move your feet and compose the photo in the best way that crops out the mess in the room or the distracting items outside like powerlines, other people, or uneven light. An easy way to do this is to get in close to your subject, then all the items around them disappear.
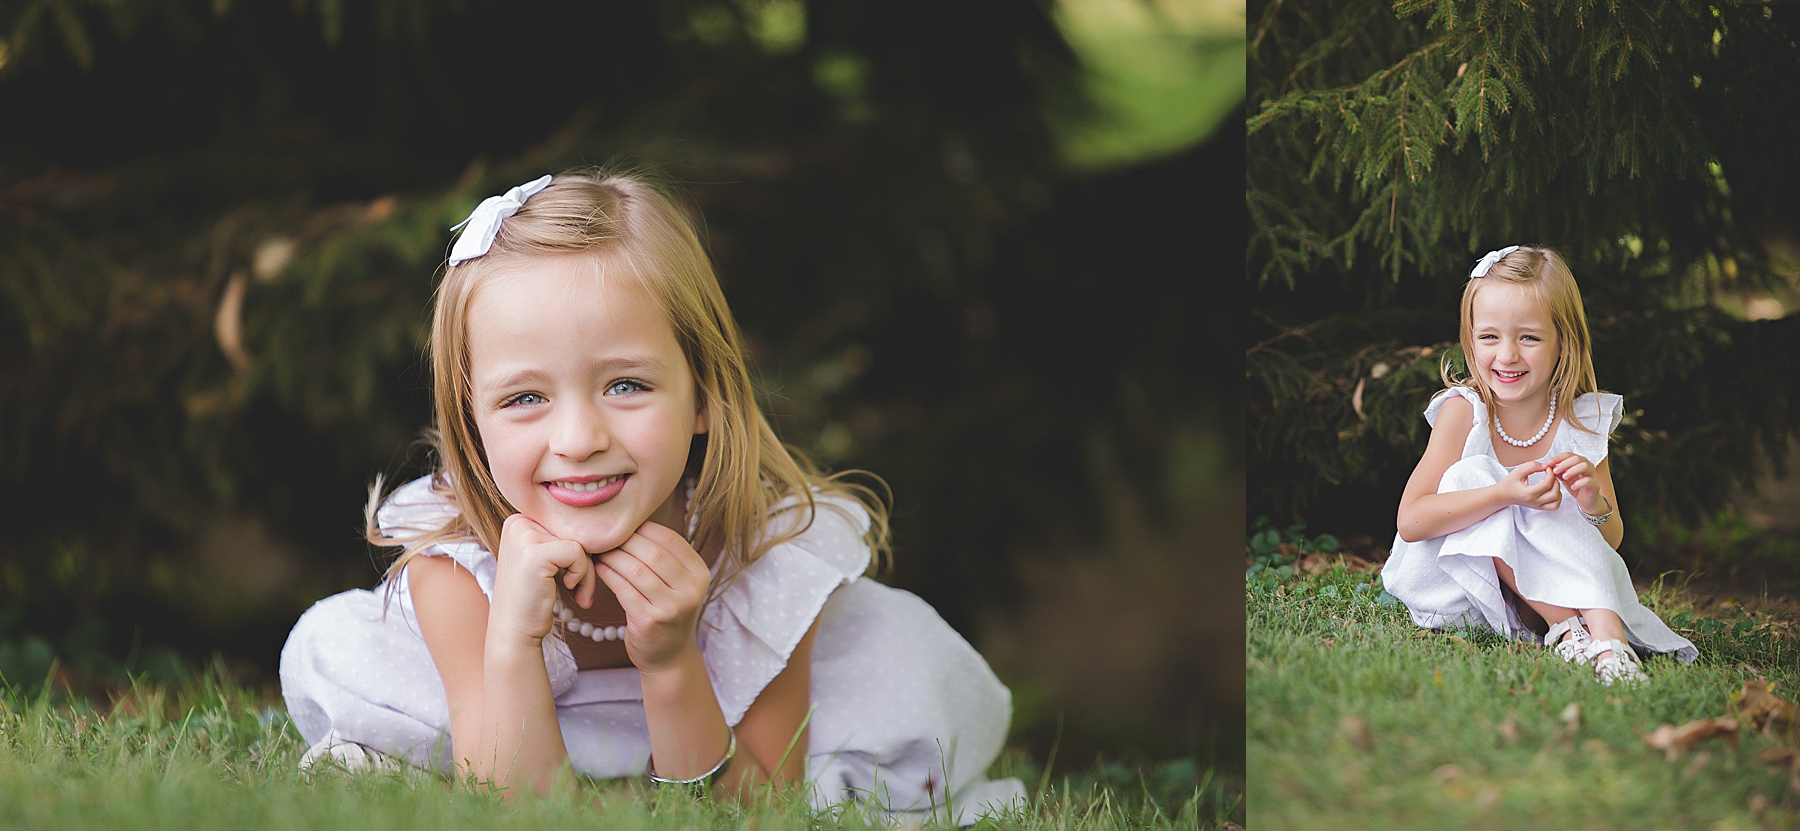
Position yourself just slightly above their level
If you are photographing children, this should be easy because you can just sit down and be slightly above. The reason that I suggest slightly above because whatever is closest to the camera will appear the largest. So if you are lying on the ground and their feet or legs are the closest to the camera, the feet and legs will appear to be large while the body appears smaller. It’s not a flattering position. I see many amateur photographers shooting like this. However, being slightly above the subject allows you to focus on the eyes and brings their head up into a more pleasing position. If I am photographing adults on the ground, I typically squat instead of sitting thus keeping myself slightly above my subject.
You can check out this video and pay particular attention to how I work with the family in the video.
How to use props in your photos
If you’re here reading this, you probably enjoy my photography style and you’ve noticed that I like to keep it simple. I like my photos to be timeless. I want them to age well and props tend to date a photo. If I do use a prop, it’s usually a box, stool, or chair. It gives dimension and adds something different to the photo without taking away from the subject. Look for natural props like trees, flowers, and stumps, but don’t let them overpower your subject.
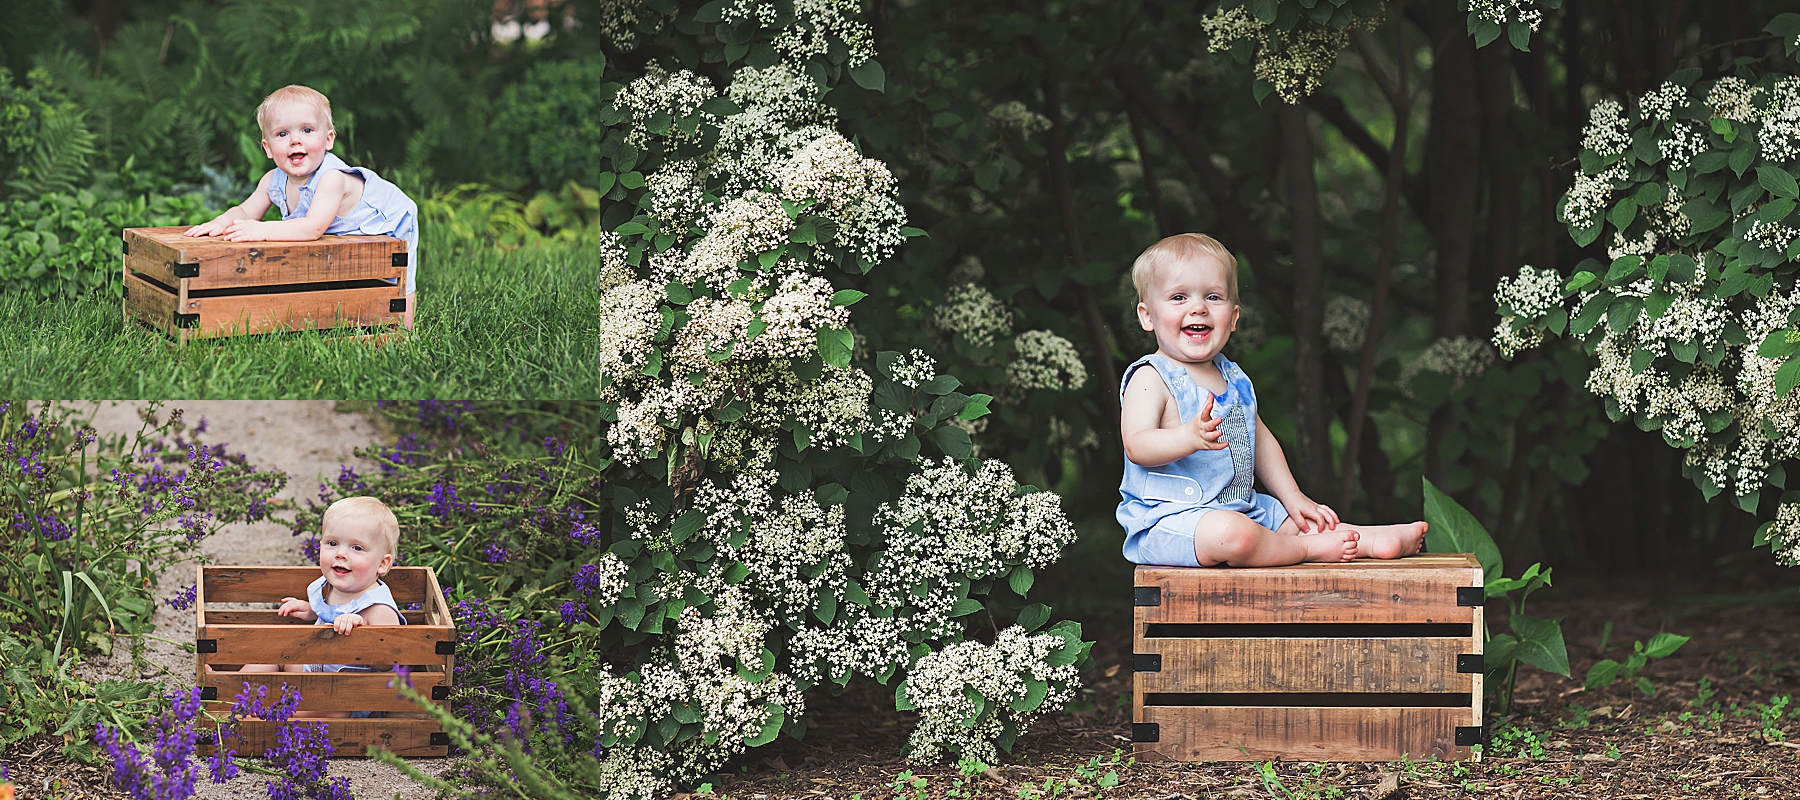
Posing your subject
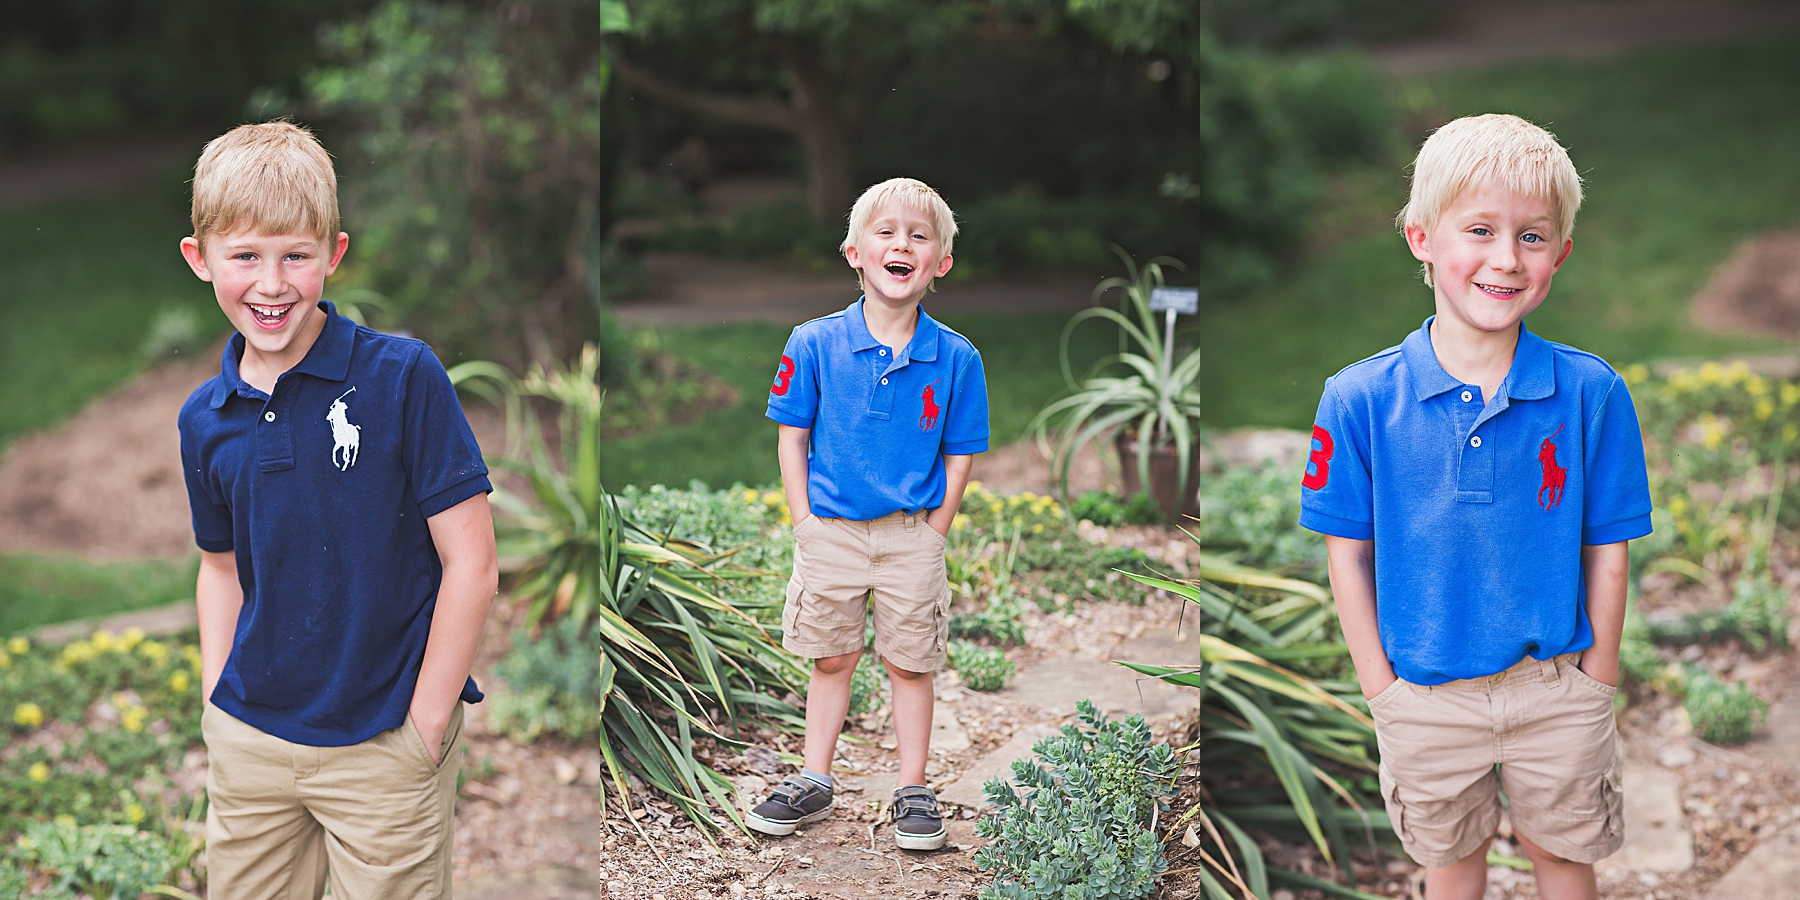
The most important thing when posing your subject is making sure they sit up tall. You’ll have to remind them of that while standing or sitting. One of my favorite photos to do for boys is “hands in your pockets”.
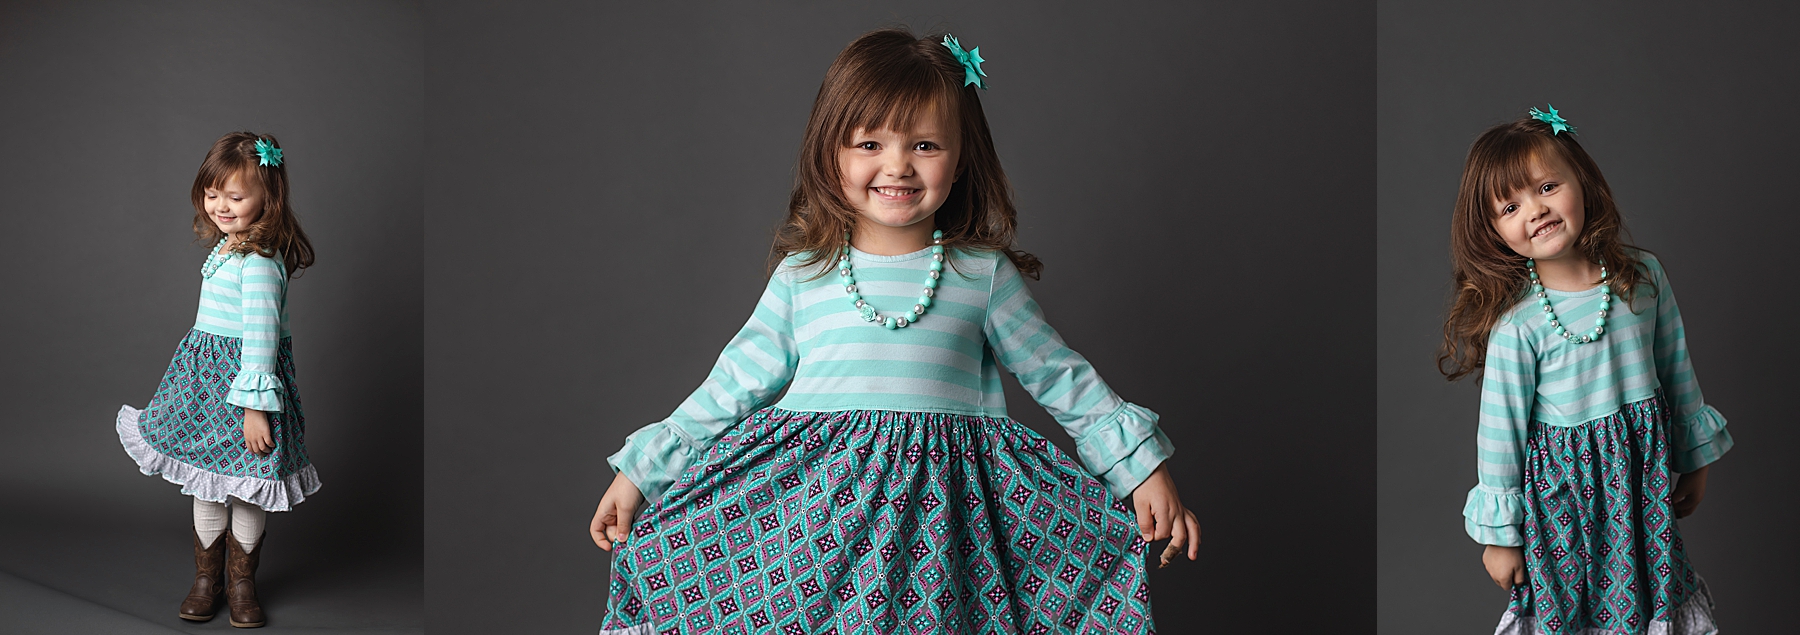
And many little girls love to swing from side to side while holding their dress. It gives both something to do with their hands while having their photos taken.
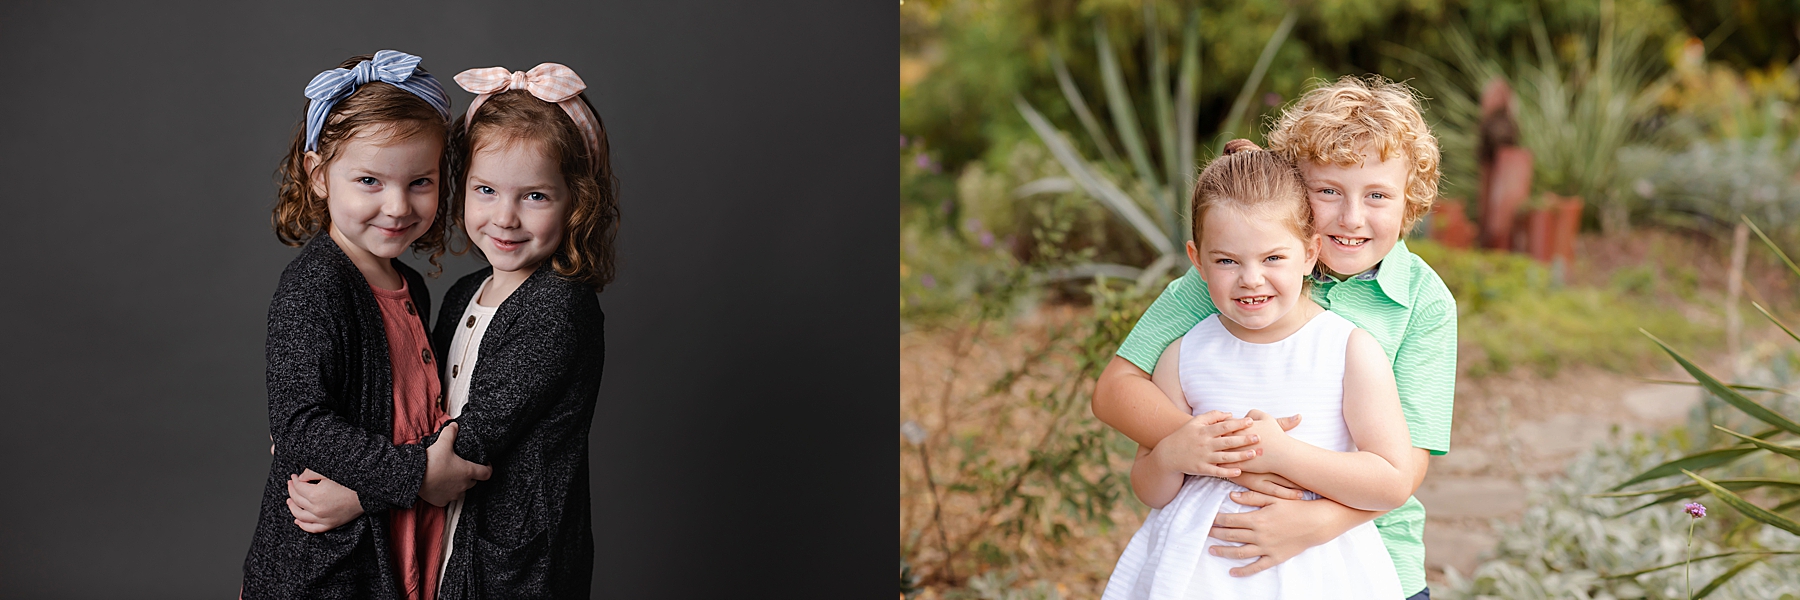
If you are posing multiple children try to get them to touch in some way. It creates emotion and brings the photo together.
Getting that authentic smile
This is all about your personality and interacting with your subject. You’ve got to get them talking. There’s rarely a child (three-year-old to teenager) who sits in front of me and has a natural “fake” smile. So be prepared to have a conversation or tell a joke. One of my favorites that works well with all ages is simply telling them not to smile…don’t do it…don’t you dare…and then be ready to snap. It works almost every single time. And the farting piano app works great too – I am not above it and I haven’t met a tween boy yet that doesn’t think farting is funny!
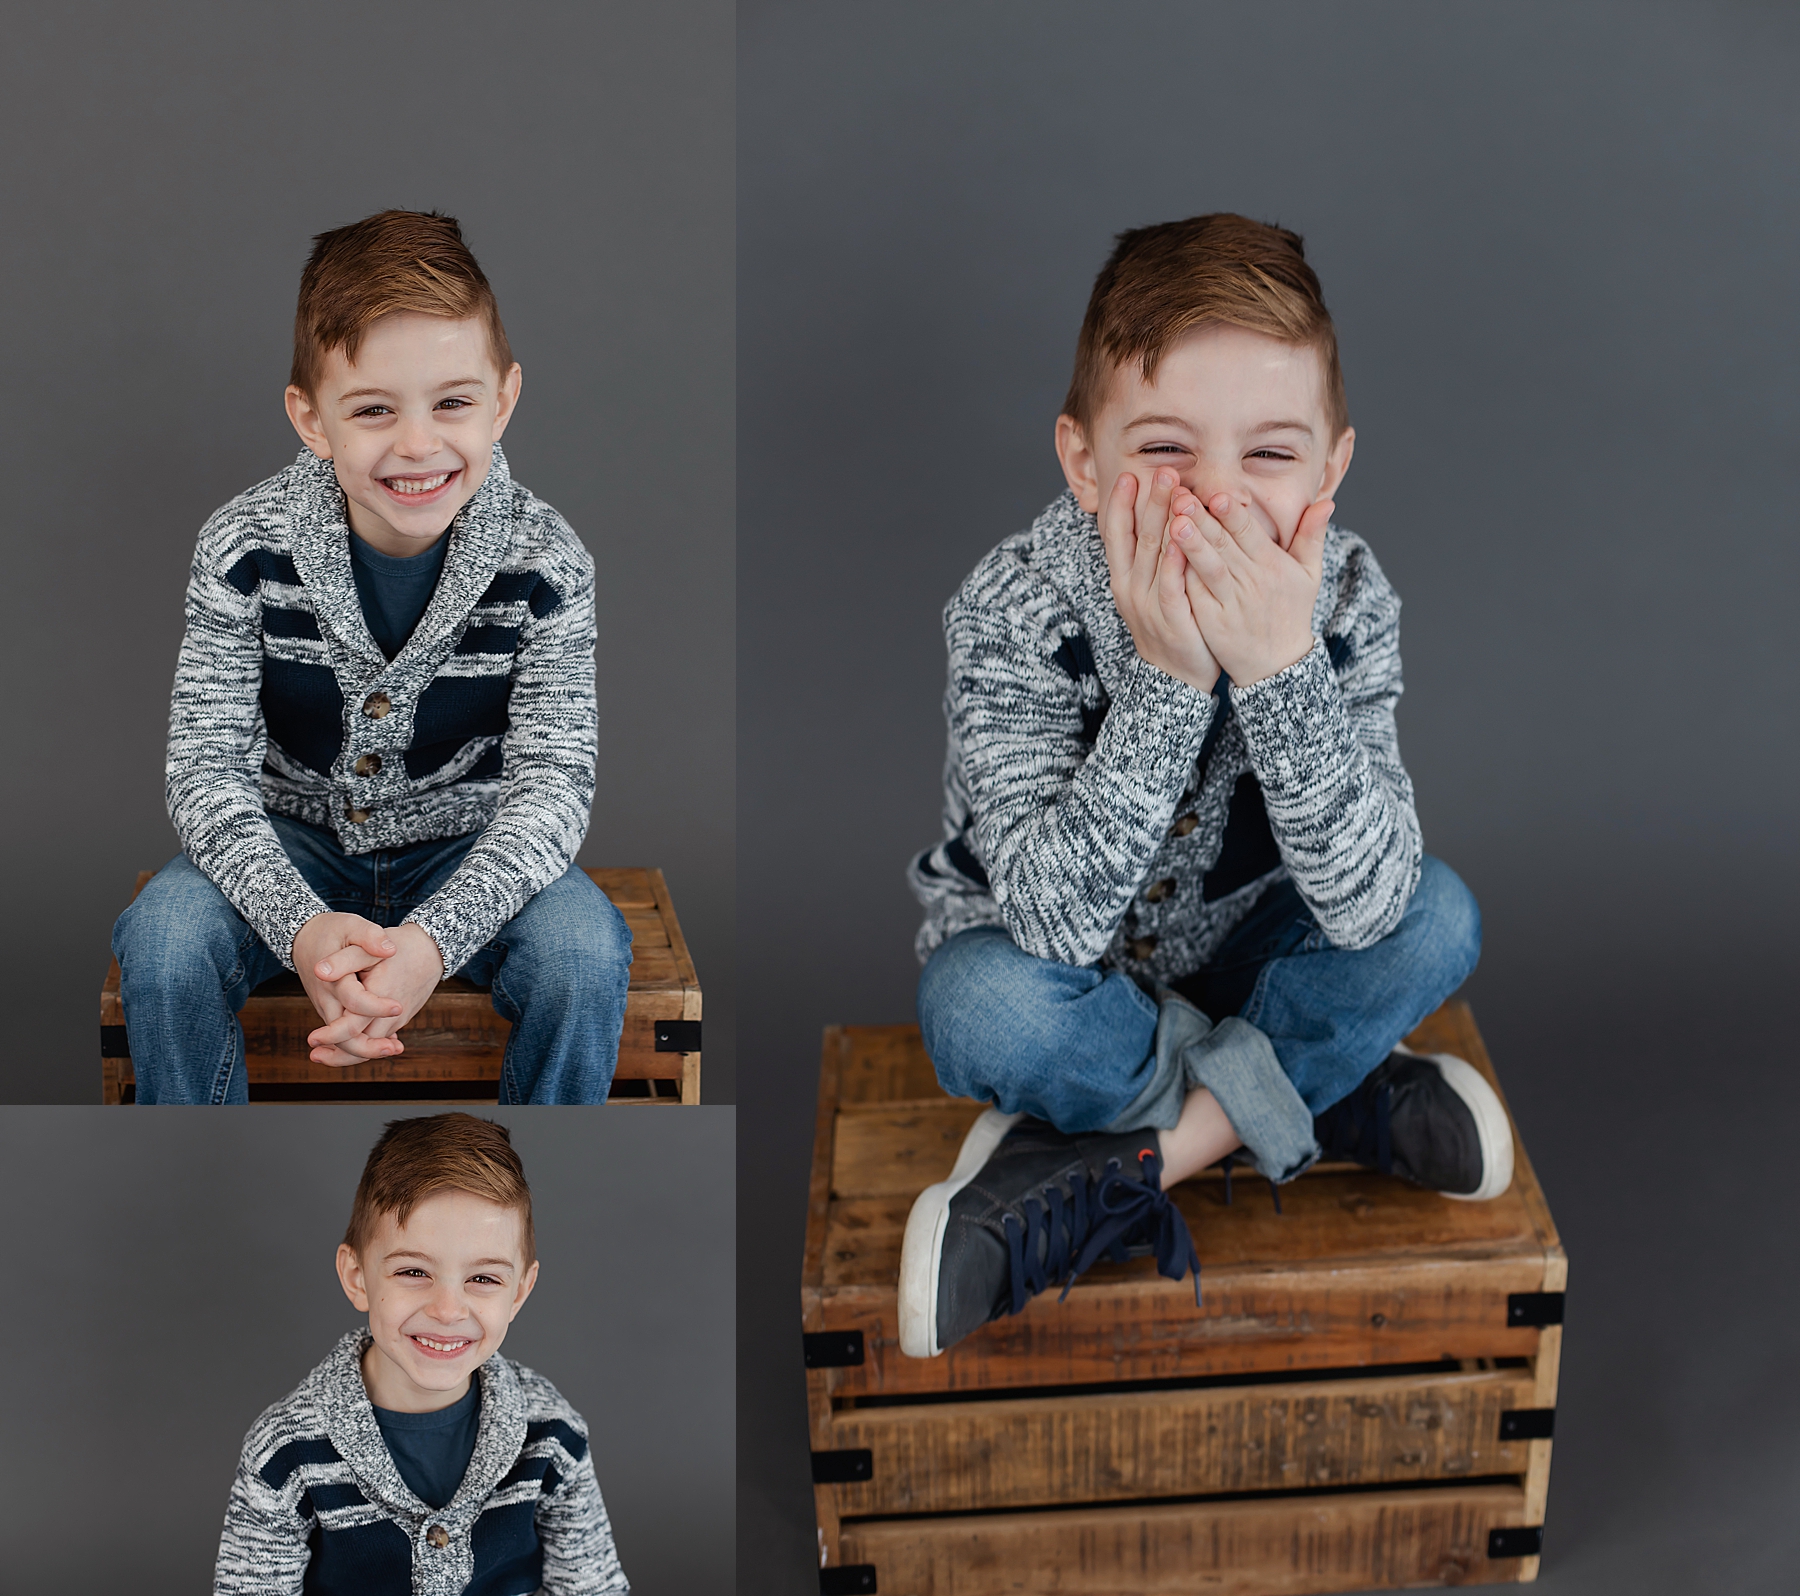
For babies and toddlers, you might need a second person to help you out. However, make sure to position them on your level. You want them as close to you as possible or right behind the camera. Playing peek-a-boo behind the photographer usually works great.
Ready to take it to the next level?
I’d love to help you learn how to take good pictures. I have online classes available as well as a Facebook group where I’d love to help you grow. You can even start out by snagging 10 Tips to Better Photos with Your Smart Phone. Either one you choose, I can’t wait to help you learn.

Recent Comments